



Template 96 Well Plate | 96 Well Plate Template
Nesting Rectangular Ceramic Baking Dish Template | Slab Pottery Pattern PDF | Hand-Building Ceramics Project
Create a beautiful, functional set of handmade nesting rectangular ceramic baking dishes with this carefully designed slab pottery template. Whether you're completely new to hand-building ceramics or an experienced potter looking for a practical kitchenware project, this digital PDF provides an easy and structured way to create three graduated rectangular dishes from clay.
Designed specifically for slab construction, the project does not require a pottery wheel. Simply print the templates, transfer the pieces onto your rolled clay slabs, cut the components, and follow the included assembly instructions to construct your dishes by hand.
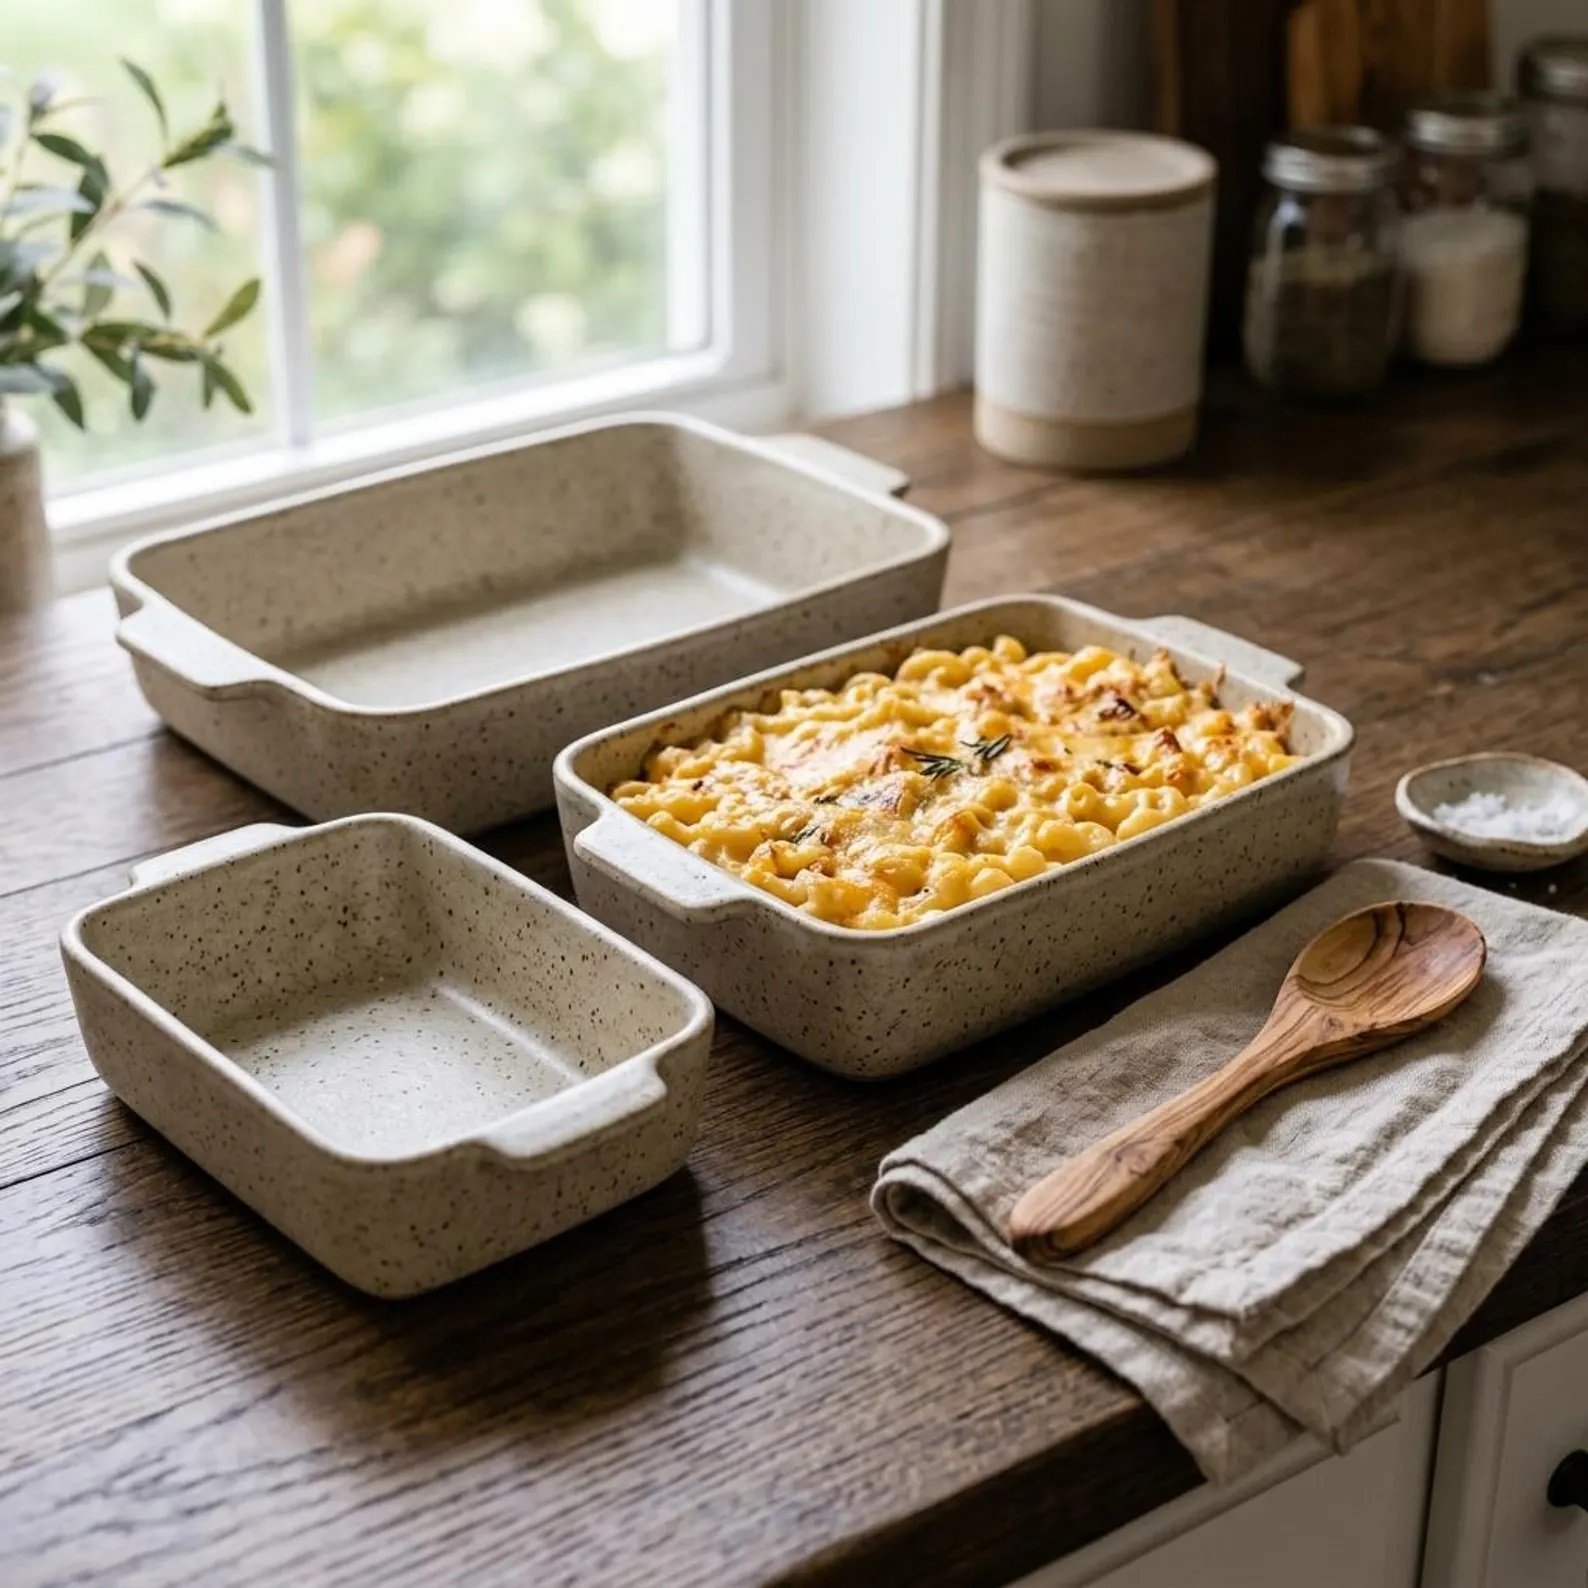
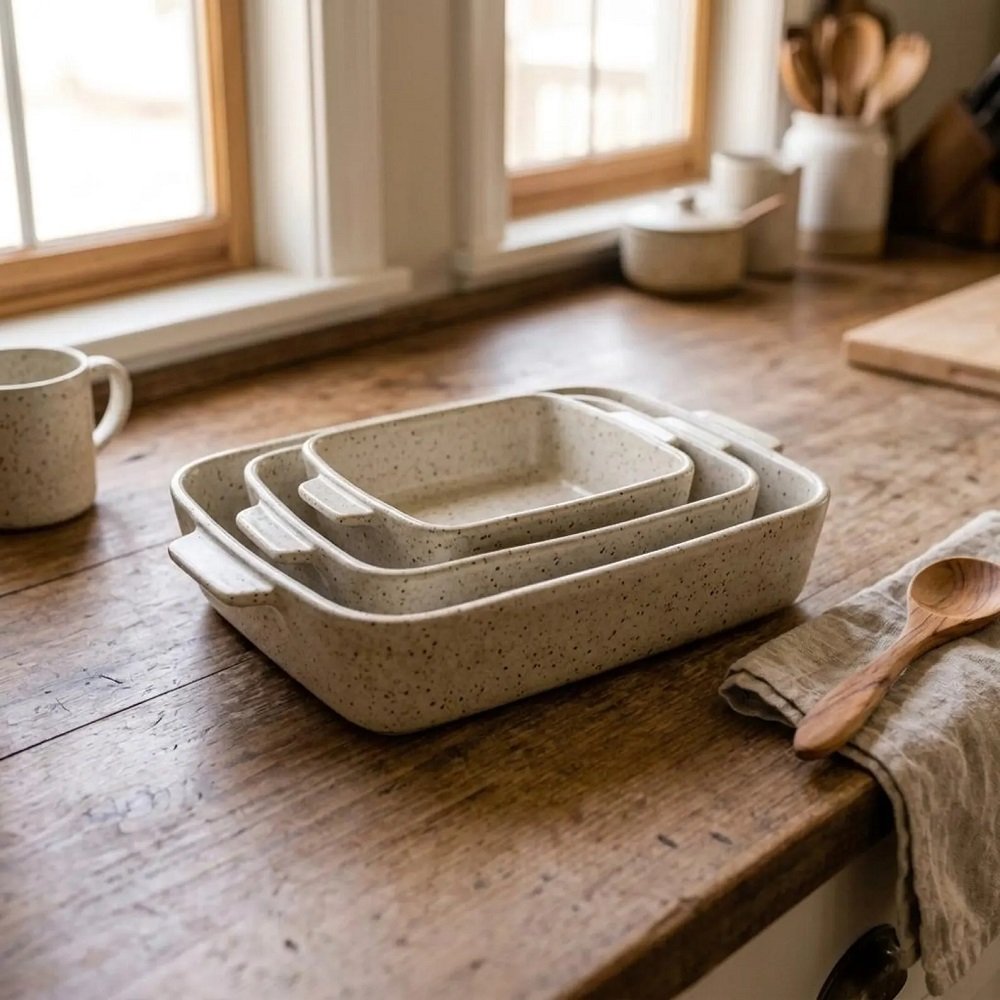
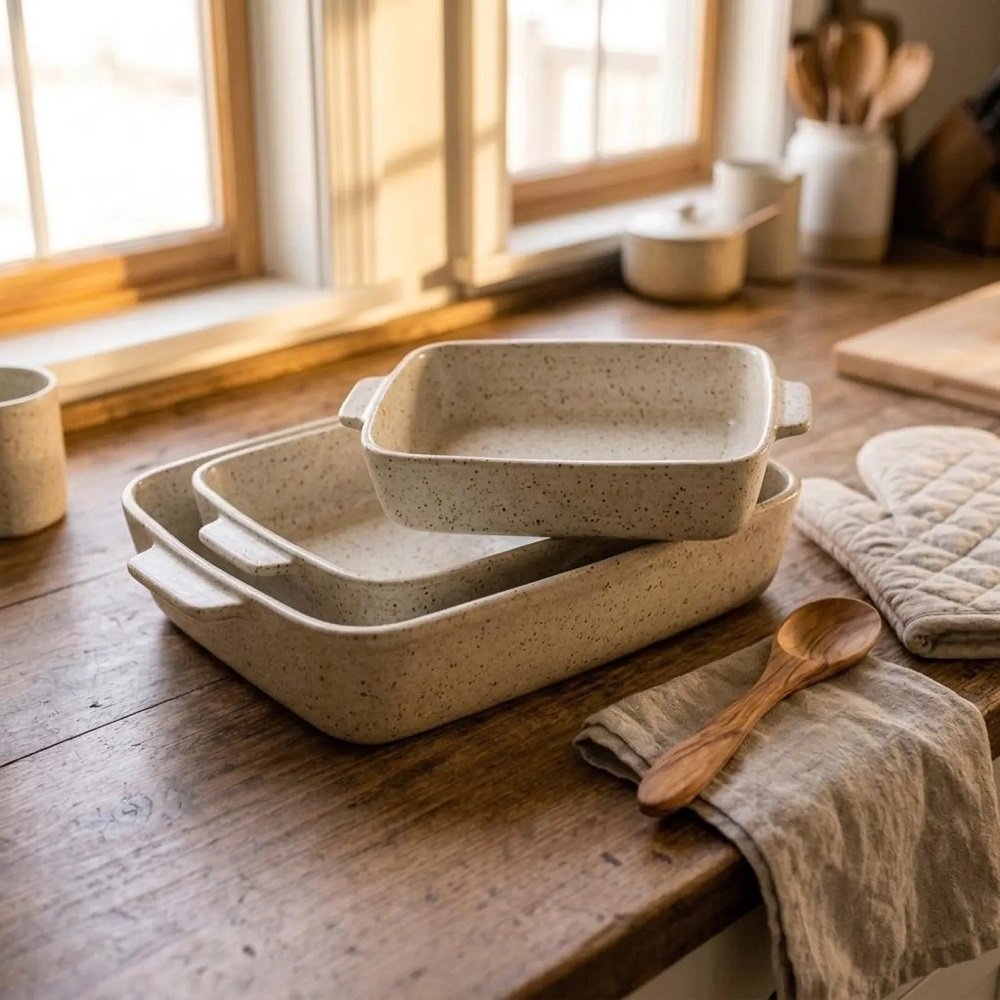
The finished set includes three graduated rectangular baking dishes, each featuring sturdy side handles. Their coordinated sizes are designed to nest together, creating a convenient and space-saving addition to your handmade ceramic collection.
CREATE THREE GRADUATED BAKING DISHES
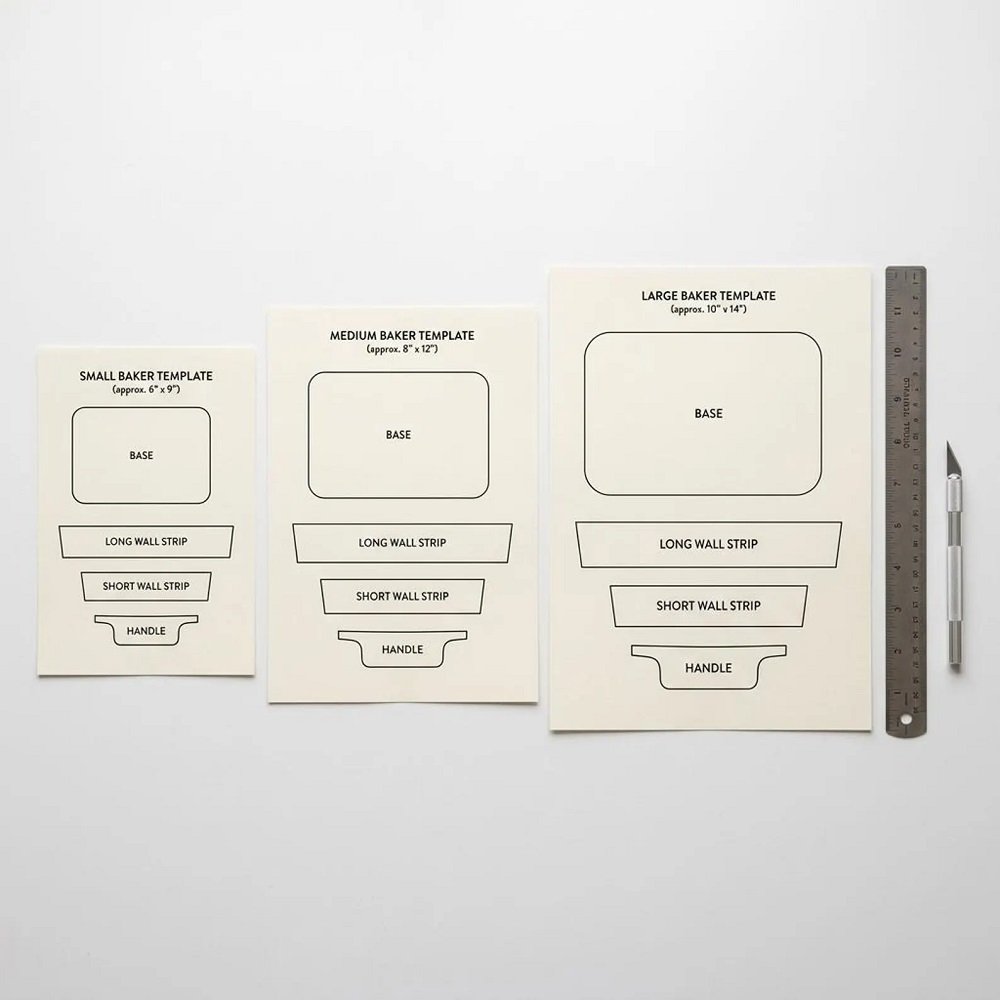
This template set includes patterns for three different dish sizes:
- Small: approximately 4" × 6"
- Medium: approximately 4.75" × 7"
- Large: approximately 5.5" × 8"
Each size includes the necessary components to construct the dish, including the base, long wall strips, short wall strips, and appropriately sized handles.
The straight-sided rectangular design provides a clean, classic shape that works well for a variety of ceramic projects while the graduated dimensions allow the finished pieces to be stored together.
Please note: Actual finished dimensions may vary depending on your clay body, slab thickness, drying conditions, firing temperature, and the amount of shrinkage produced by your clay.
WHAT'S INCLUDED IN YOUR DIGITAL PDF
Your downloadable template provides the essential patterns and information needed to complete the project.
Printable Templates
Templates are provided for all three graduated sizes, including:
- Base templates
- Long Wall Strip templates
- Short Wall Strip templates
- Handle templates
- Matching components for each dish size
Printing Test Squares
A test square is included on every template page so you can verify that your printer has produced the pattern at the correct scale.
Before cutting or transferring the templates to clay, measure the test square and confirm that it matches the stated dimensions.
Step-by-Step Instructions
The PDF includes written assembly guidance to help you move through the project from printed template to completed ceramic form.
Instructions cover the basic process of:
- Preparing your clay slab
- Transferring the templates
- Cutting the clay pieces
- Preparing the edges
- Joining the walls and base
- Reinforcing the corners
- Attaching the handles
- Allowing the pieces to dry
- Preparing them for firing
A corner-joint reinforcement technique is also included to help strengthen the connections between the different slab components.
Materials & Tools Checklist
The template includes a helpful checklist so you can prepare the clay, hand-building tools, and other supplies needed before beginning your project.
TEMPLATE SPECIFICATIONS
The PDF templates are formatted for:
- Paper Size: US Letter
- Paper Dimensions: 8.5" × 11"
- Print Setting: 100% / Actual Size
- Construction Method: Hand-built slab pottery
- Design: Straight-sided rectangular form
- Number of Dishes: 3 graduated sizes
- Handles: Included for each dish
- Format: Printable PDF
- Delivery: Digital download
Always use the Actual Size or 100% printing setting. Avoid options such as “Fit to Page” or “Scale to Fit,” as these may change the dimensions of the template.
HOW TO USE THE TEMPLATE
Creating your nesting baking dish set is a straightforward hand-building project.
STEP 1 — DOWNLOAD
After purchasing, download the digital PDF containing your templates and instructions.
STEP 2 — PRINT
Print the pages on US Letter paper using the 100% / Actual Size setting.
Use the test square on each page to verify that the template has printed correctly before proceeding.
STEP 3 — CUT THE TEMPLATES
Carefully cut out the individual template pieces, including the bases, wall strips, and handles.
STEP 4 — PREPARE YOUR CLAY
Roll your clay into an even slab using your preferred slab-building technique and clay thickness.
Make sure your slab is sufficiently even to help produce consistent walls and bases.
STEP 5 — TRANSFER THE PATTERNS
Place the paper templates over your clay slab and carefully trace around each component.
Cut the clay pieces according to the template outlines.
STEP 6 — ASSEMBLE THE DISHES
Follow the included instructions to join the base and wall pieces. Score and slip or use the joining method appropriate for your clay body.
Pay particular attention to the corners and use the included reinforcement technique to strengthen the joins.
STEP 7 — ATTACH THE HANDLES
Each dish includes a corresponding handle template. Position and attach the handles securely while the clay is still workable.
STEP 8 — DRY CAREFULLY
Allow the completed pieces to dry slowly and evenly according to your clay manufacturer's recommendations. Careful drying can help minimize problems caused by uneven moisture loss.
STEP 9 — FIRE AND GLAZE
Once completely dry, prepare the pieces for firing. Bisque fire and glaze according to the manufacturer's recommended temperatures and procedures for your chosen clay and glaze.
NESTING FIT & SHRINKAGE
One of the key features of this project is its nesting design.
Because ceramic clay naturally shrinks as it dries and is fired, the final dimensions of your dishes can differ from the dimensions of the original templates. The amount of shrinkage varies between clay bodies and firing schedules.
The included troubleshooting information provides guidance for understanding and managing nesting fit and shrinkage.
For best results, always consider the specific shrinkage rate of your clay when planning your pieces.
PERFECT FOR POTTERS OF ALL SKILL LEVELS
This project is suitable for a wide range of makers.
Beginners
If you're learning slab pottery, this template provides a structured project that allows you to practice fundamental hand-building skills such as:
- Rolling slabs
- Cutting clay accurately
- Creating straight walls
- Joining slabs
- Reinforcing seams
- Adding handles
- Managing drying
- Preparing pieces for firing
Experienced Potters
For experienced makers, the template can provide a convenient starting point for creating a coordinated set without having to design the dimensions from scratch.
You can also use the project as inspiration for experimenting with different clay bodies, surface treatments, textures, carving techniques, and glazing approaches.
GREAT FOR
This digital pottery template is perfect for:
- Home potters
- Ceramic artists
- Pottery beginners
- Experienced makers
- Ceramics students
- Pottery studio classes
- Slab-building workshops
- Hand-building practice
- DIY pottery projects
- Handmade kitchenware projects
- Creative gift making
- Ceramic design practice
It can also make an enjoyable project for anyone interested in developing practical slab-building skills while creating functional ceramic forms.
BUILD YOUR OWN HANDMADE KITCHEN COLLECTION
This template can be used as a starting point for creating a coordinated handmade kitchen collection. The nesting baking dishes provide a functional foundation that can complement other hand-built ceramic pieces.
If you enjoy this style of pottery template, you can explore matching projects such as nesting bowls, spice jars, measuring cups, and other handmade kitchenware templates to expand your collection.
DIGITAL DOWNLOAD — PLEASE READ
This listing is for a DIGITAL FILE ONLY.
No physical product will be shipped.
You will receive a PDF template that you can download and print for your own pottery project.
NOT INCLUDED:
- Clay
- Pottery tools
- Kiln
- Glaze
- Firing services
- Pottery wheel
- Physical baking dishes
- Physical paper templates
You will need your own suitable materials, tools, and access to a kiln or pottery studio to complete the project.
IMPORTANT PRINTING INFORMATION
For accurate results:
- Download the PDF.
- Open it using a suitable PDF reader.
- Select Print at 100% / Actual Size.
- Do not select “Fit to Page” or automatic scaling.
- Measure the included test square before transferring the pattern to clay.
Correct printing scale is important because even a small change in template dimensions can affect the final size and nesting relationship of the dishes.
IMPORTANT CERAMIC SAFETY NOTE
Ceramic work involves clay, tools, dust, glaze materials, and high-temperature firing. Follow appropriate studio safety practices and the manufacturer's instructions for your clay, glaze, kiln, and other materials.
Ensure pieces are properly dried before firing and use firing temperatures appropriate for the specific materials you have selected.
TERMS OF USE
This template is licensed for personal, non-commercial use only.
You may use the template to create your own ceramic pieces for personal projects, practice, or handmade gifts.
You may not:
- Resell the digital template
- Share the PDF with others
- Redistribute the files
- Upload the files to websites or file-sharing services
- Reproduce or distribute the template commercially
- Package the template with other products for resale
- Claim the original template design as your own
The purchase grants you access to the digital template for personal use and does not transfer ownership or copyright of the template design.
CREATE SOMETHING BY HAND
Turn a simple slab of clay into a coordinated set of functional ceramic dishes with this Nesting Rectangular Baking Dish Template PDF. With three graduated sizes, matching handles, printable patterns, assembly instructions, printing guides, and nesting-fit tips, this project gives you a practical and creative way to explore slab pottery while building a beautiful handmade kitchen collection.
Download, print, trace, build, fire, and enjoy creating your own unique nesting ceramic baking dish set.



Reviews
There are no reviews yet.